
A firepit is a perfect addition to any backyard, offering a cozy gathering spot for family and friends. Building your own DIY firepit system can be an enjoyable and rewarding project, and with the right materials and a bit of know-how, you can create a safe and stylish feature that enhances your outdoor space. Here’s a comprehensive guide to help you get started on your DIY firepit system.
Planning Your Firepit
Selecting the Location
The first step in building a DIY firepit is selecting the right location. Choose a flat, open area away from trees, shrubs, and any structures. Ensure there is ample space around the firepit for seating and that it complies with local regulations and codes regarding open fires.
Choosing the Design
Firepits come in various shapes and sizes, so consider the overall aesthetic of your backyard when selecting a design. You can opt for a simple circular firepit, a square design, or even a custom shape. Sketch out your ideas to visualize the final product.
Gathering Materials
Once you have a design in mind, it’s time to gather materials. Here’s a list of common materials needed for a basic circular firepit:
- Pavers or Fire Bricks: These will form the walls of your firepit.
- Gravel: This will serve as the base to provide drainage.
- Sand: Used for leveling the base.
- Metal Fire Ring: Optional, but recommended for added safety and durability.
- Shovel: For digging and leveling the ground.
- Tape Measure: For accurate measurements.
- Level: To ensure your firepit is even.
Preparing the Base
- Mark the Area: Use the shovel to mark the outline of your firepit. A common diameter for a firepit is 3-4 feet.
- Dig the Base: Dig down about 6-12 inches to create a solid base for your firepit.
- Add Gravel: Fill the bottom with a few inches of gravel to aid drainage and prevent water accumulation.
- Level the Base: Spread a layer of sand over the gravel and use the level to ensure it’s even.
Constructing the Walls
- Lay the First Layer: Begin by placing your pavers or fire bricks in a circle, ensuring they fit snugly together. Use the level to make sure they are even.
- Build Up Layers: Continue stacking layers of pavers or fire bricks, staggering the joints for stability. For added durability, you can use masonry adhesive between layers.
- Install the Fire Ring: If you’re using a metal fire ring, place it inside the firepit once the walls reach the desired height.
Finishing Touches
- Fill Gaps: Fill any gaps between the firepit and the ground with gravel or sand to stabilize the structure.
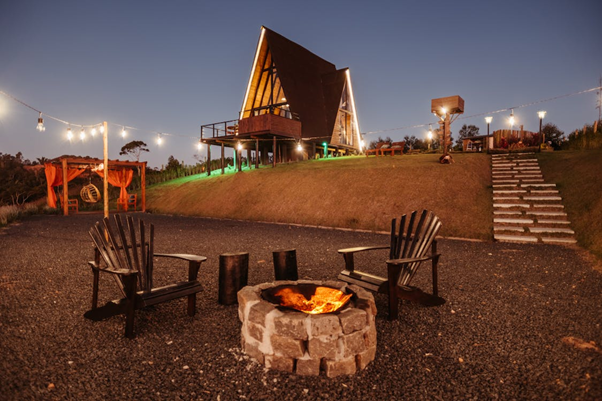
- Create Seating: Arrange chairs or benches around your firepit to create a comfortable seating area.
Safety Tips
- Keep a Safe Distance: Ensure that all seating and other outdoor furniture are kept at a safe distance from the fire.
- Have Water Ready: Always have a bucket of water or a hose nearby in case of emergencies.
- Supervise Fires: Never leave the fire unattended and make sure it is completely extinguished before leaving the area.
Enjoying Your Firepit
Now that your DIY firepit system is complete, it’s time to enjoy it! Whether you’re roasting marshmallows, telling stories, or simply relaxing by the fire, your new firepit will be a cherished addition to your outdoor space. Regular maintenance, such as removing ashes and cleaning the firepit, will ensure it remains a safe and enjoyable feature for years to come.
Conclusion
Building a DIY firepit system is a fun and fulfilling project that can enhance your backyard’s functionality and aesthetic appeal. With careful planning and execution, you’ll create a beautiful and safe firepit that brings warmth and enjoyment to your outdoor gatherings.